Learn how to use Google’s new indexing API to speed up crawling for your website’s pages and content, skipping the wait time!
Why does it matter? Here’s why:
- Rank faster, especially for time-sensitive content.
- Increase your chances of beating competitors in search rankings.
- Keep search results fresh for better user traffic.
Thanks to tools like Google’s Indexing API, along with our guide, faster website ranking is now possible.
By following our step-by-step guide, you can stay ahead of the competition, ensuring your site gets crawled and ranked quickly—essential for competitive and time-sensitive content.
Note: Google recommends using the Indexing API primarily for JobPosting or BroadcastEvent embedded in VideoObject websites. However, our tests show it works well for various website types.
Steps to Create an Indexing API Project
-
Go to Google Cloud Platform
Start by heading over to the Google Cloud Platform directly from here. -
Create a New Project
Ensure that you’re creating a new Indexing API project by clicking the Create Project option.
-> In the next screen, enter a project name that you can recognize later. And then click Create.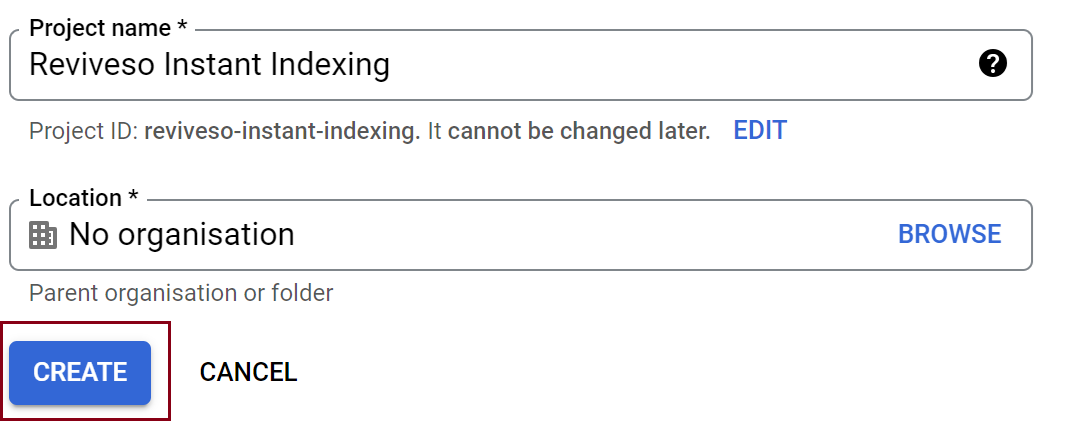
-
Enable Access to API
Once you create the project, you’d need to enable the project to access the API. In the next step, you’d see a screen as shown below. Confirm if the selected project is the one that we’ve created for Instant Indexing API, else, select the drop-down at the top to change the project. Once you’ve selected the project, click Next.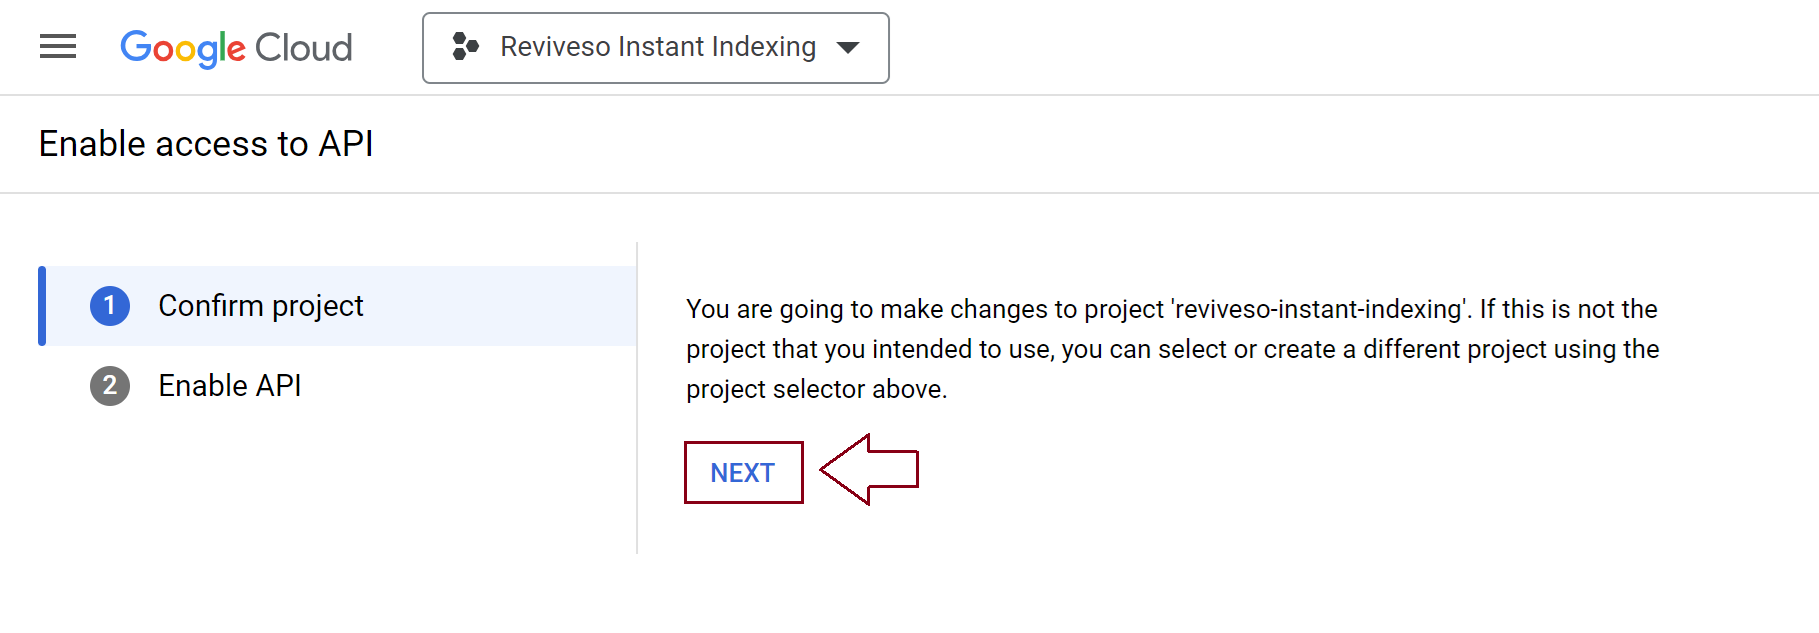
-> In the next step, click the Enable option to enable the project to access the Instant Indexing API.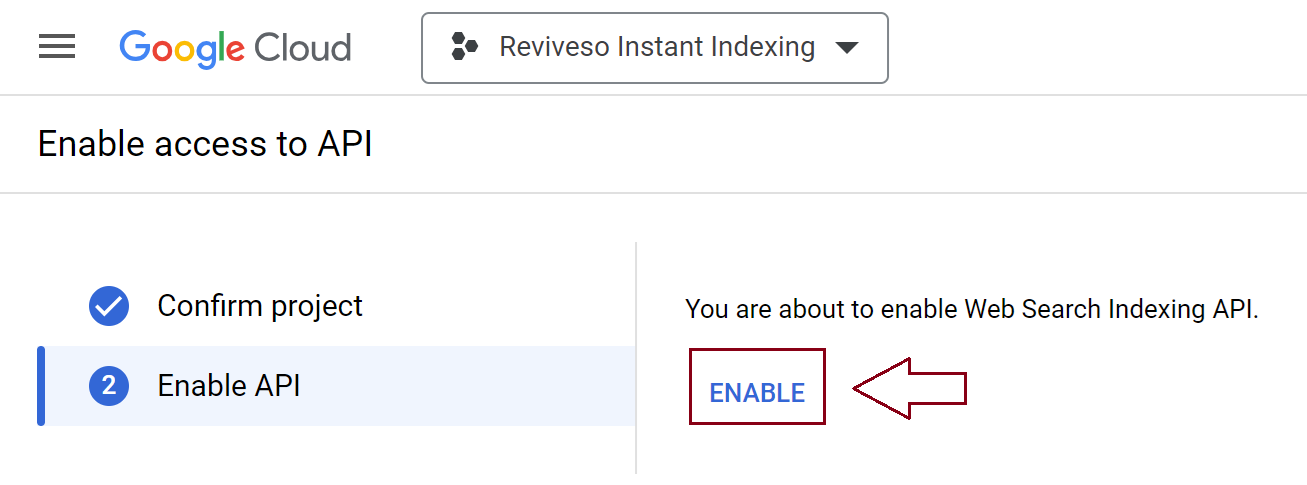
-> Once you’ve enabled it, you can close this tab.
Steps to Create Service Account
You need to create a service account by opening the service accounts page.
-
Select the Project
You will first be prompted to select the API project you wish to create this service account (the one created in the previous step).
-
Create Service Account
After selecting the project you wish to create a service account for, you’ll be taken to the following page, where you simply need to click the Create Service Account button.
-> On the Create service account screen, enter a name and description for the newly created service account.
-> Select and copy the whole Service Account ID (the one that looks like an email address) because you will need it later. Then, click on the Done button at the bottom.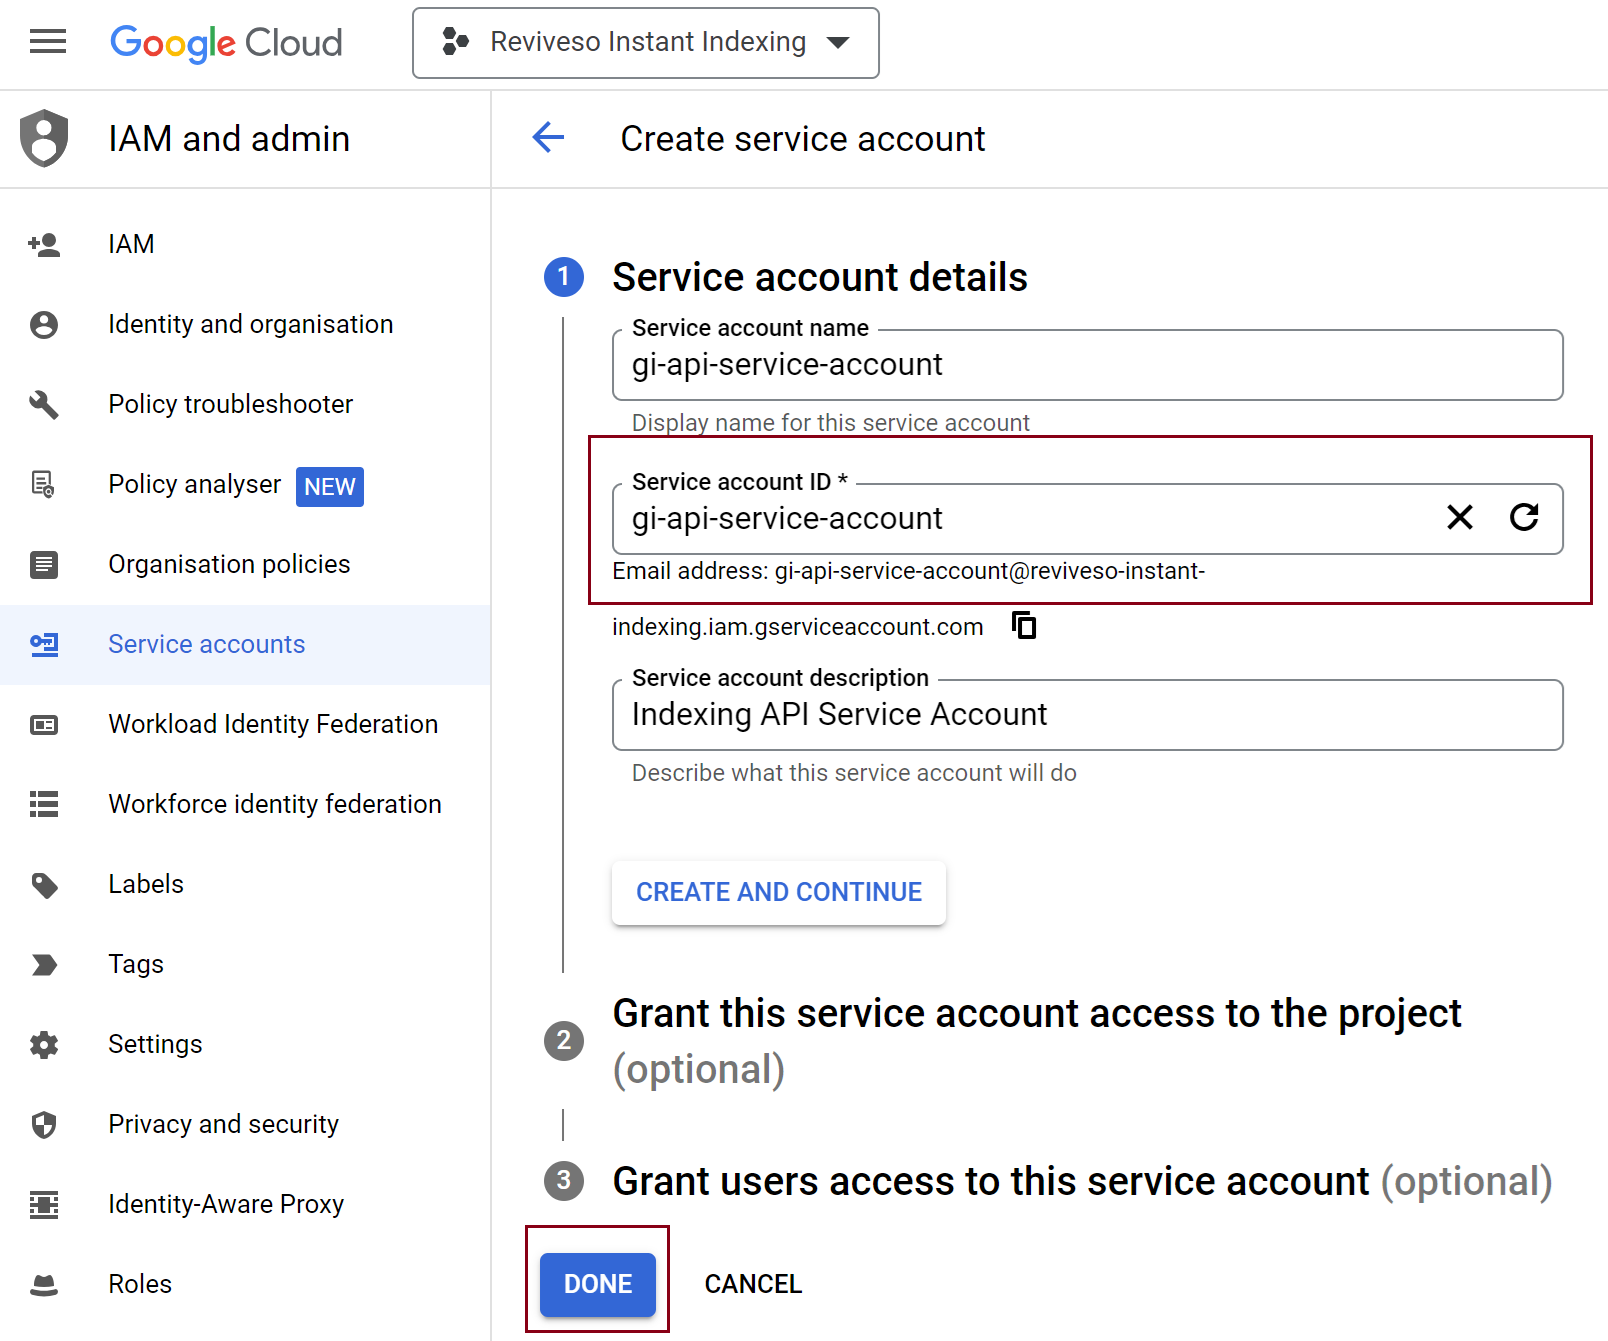
-
Manage Keys for Service Account
You will then be able to download the file that contains your API key. To do so, simply click the three vertical dots in the Actions column and then select the Manage keys.
Add the Service Account as an Owner of Your Google Search Console Property
To do this, you’ll need to register and verify your website with the Google Search Console (if you haven’t done so already), which is super easy: just follow the recommended steps to verify ownership of your property.
-
Navigate to Users and Permissions in Google Search Console Settings
After verifying your property, open the Google Search Console, select your property on the left (if prompted), and then click on Settings near the bottom.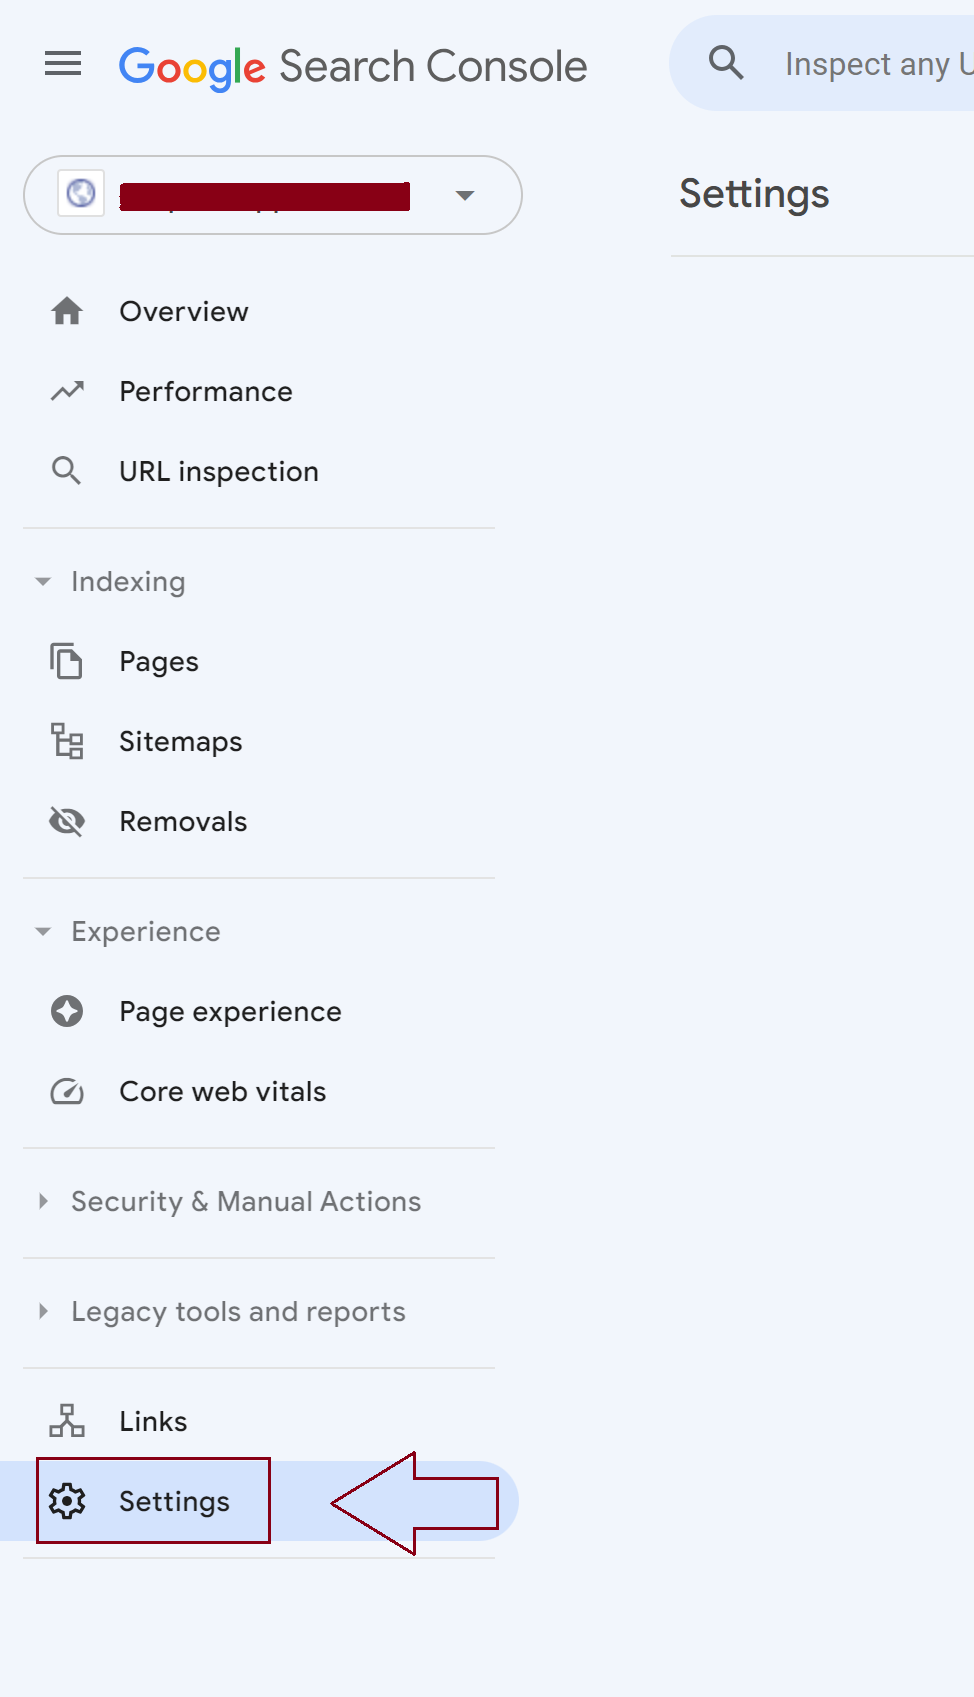
Note: If you’re configuring for a subdomain WordPress Multisite, then ensure that you’ve chosen the domain level property in Google Search Console, else you’d have to add the service account as owner separately for each subdomain property. -
Click on Users and Permissions
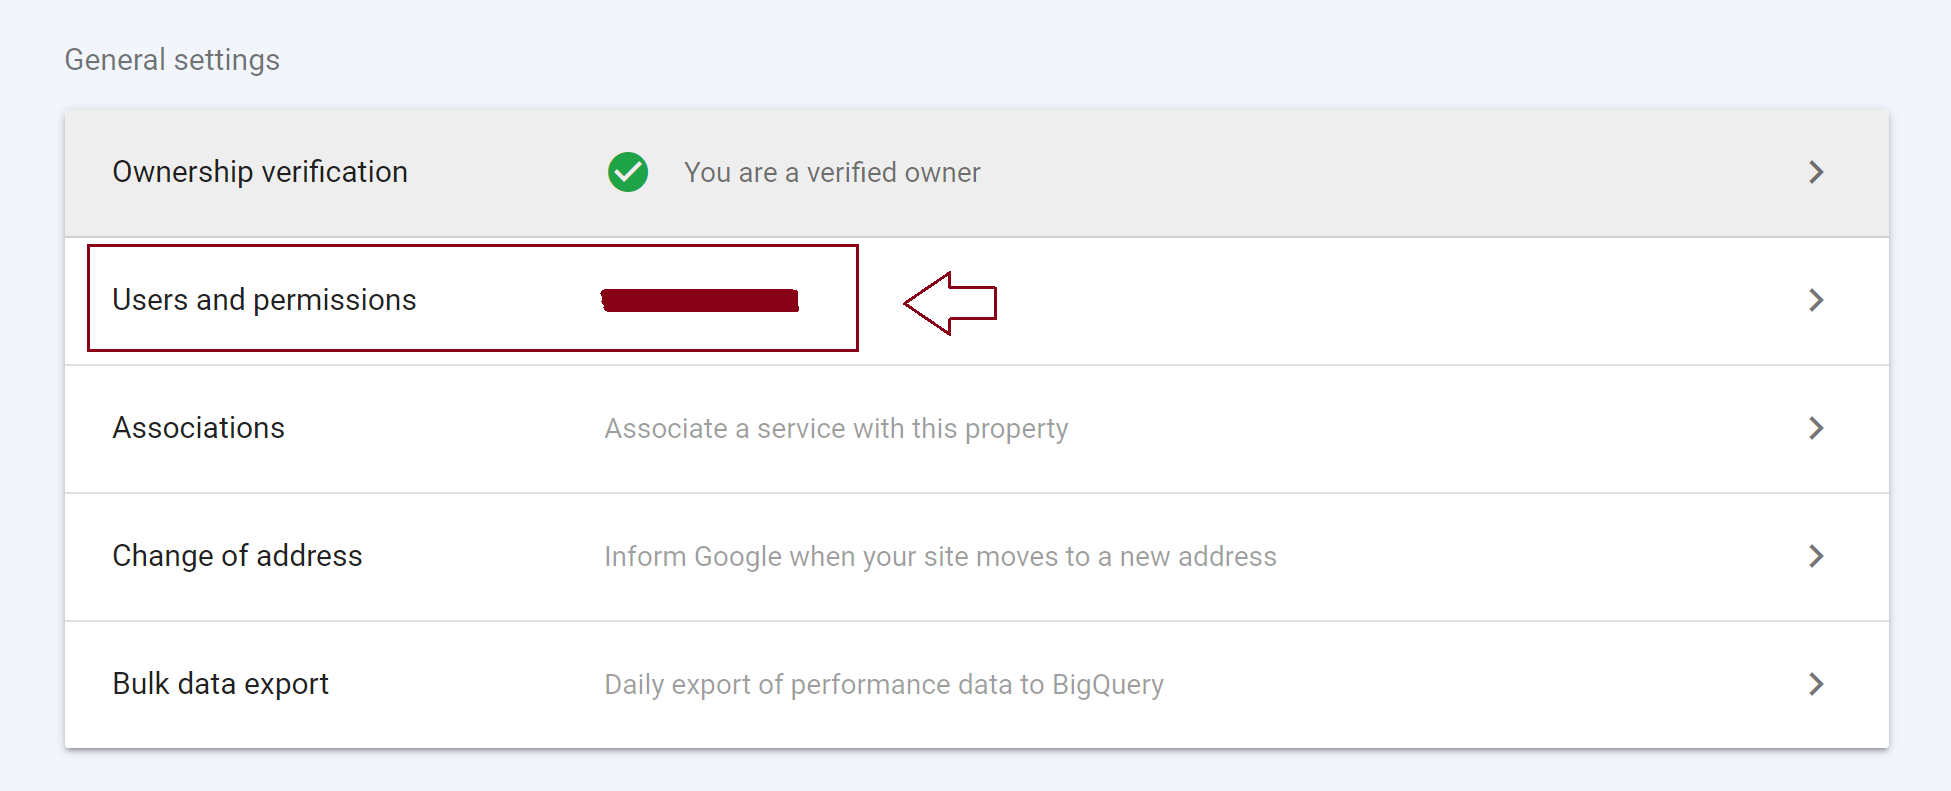
-
Add User to Your Search Console Property
Click on Add User.
-
Delegate Service Account ID as Owner
A popup will now appear. Enter the Service account ID (the one you copied out earlier) in the Email address field. Ensure that you’ve provided Owner-level Permission, and then click Add.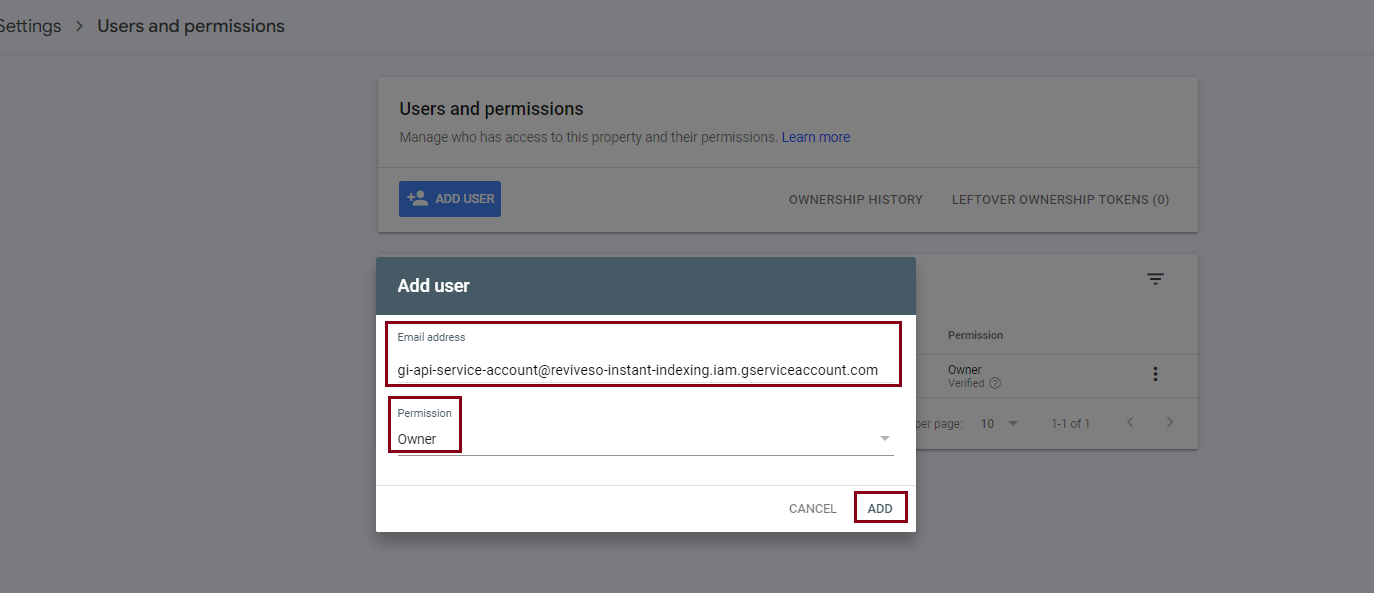
-> Now in a few moments, you should see the Service account listed as a new Owner.
Configure the Plugin
Now that you’ve created the API key and added the service account to your search console property, you’re only left with configuring the Instant Indexing plugin on your WordPress site.
-
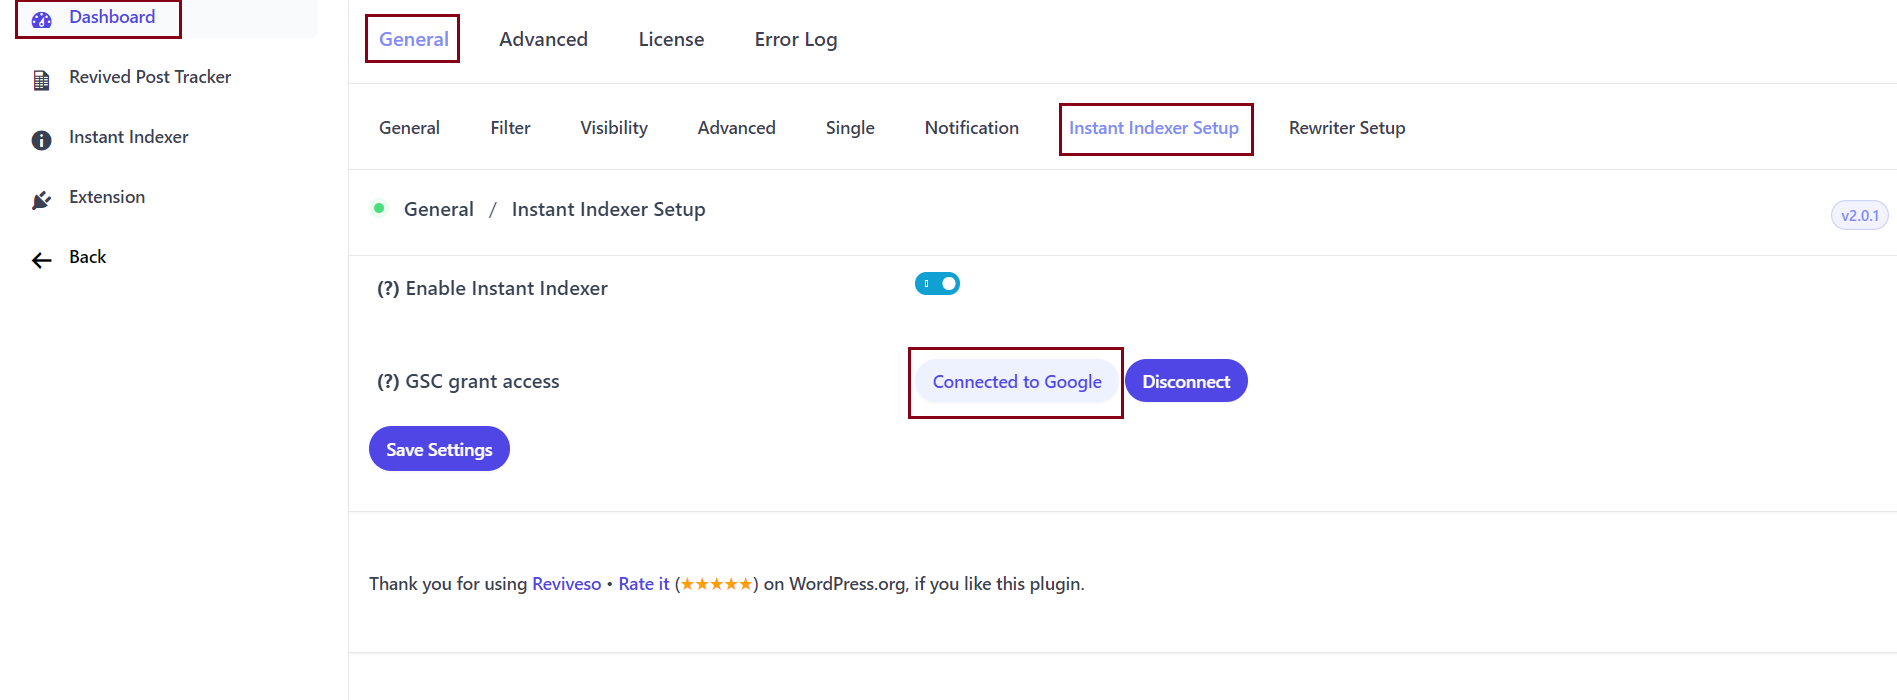
Install the Revive Instant Indexing extension
To install our extension you simply need to go to your WordPress dashboard > Revive.so > Extensions > click the ‘Install‘ button under the extension’s name.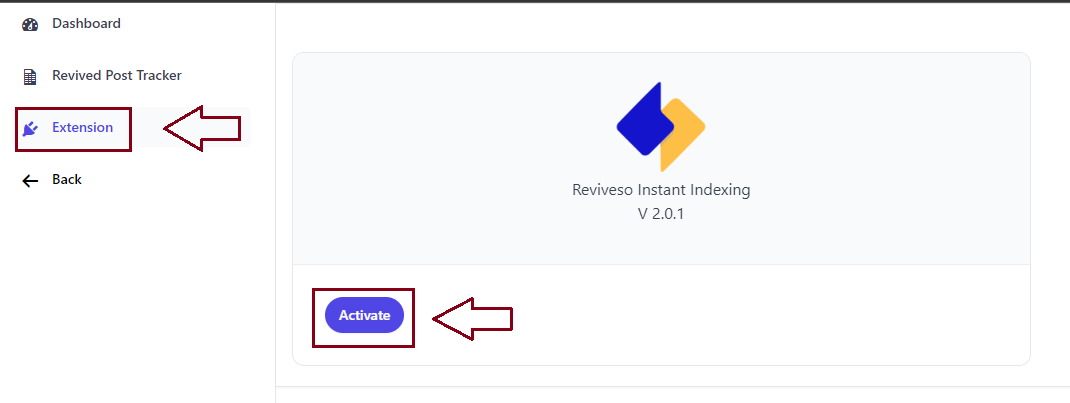
Index your pages instantly
We are pleased to introduce a new enhancement to our plugin! With this latest feature, the plugin now seamlessly facilitates the reindexing of republished posts by automatically submitting their URLs to Google.
