Before being able to use this feature, you will need to connect to your Google Search Console account.
1. Create a Google Cloud Project
-
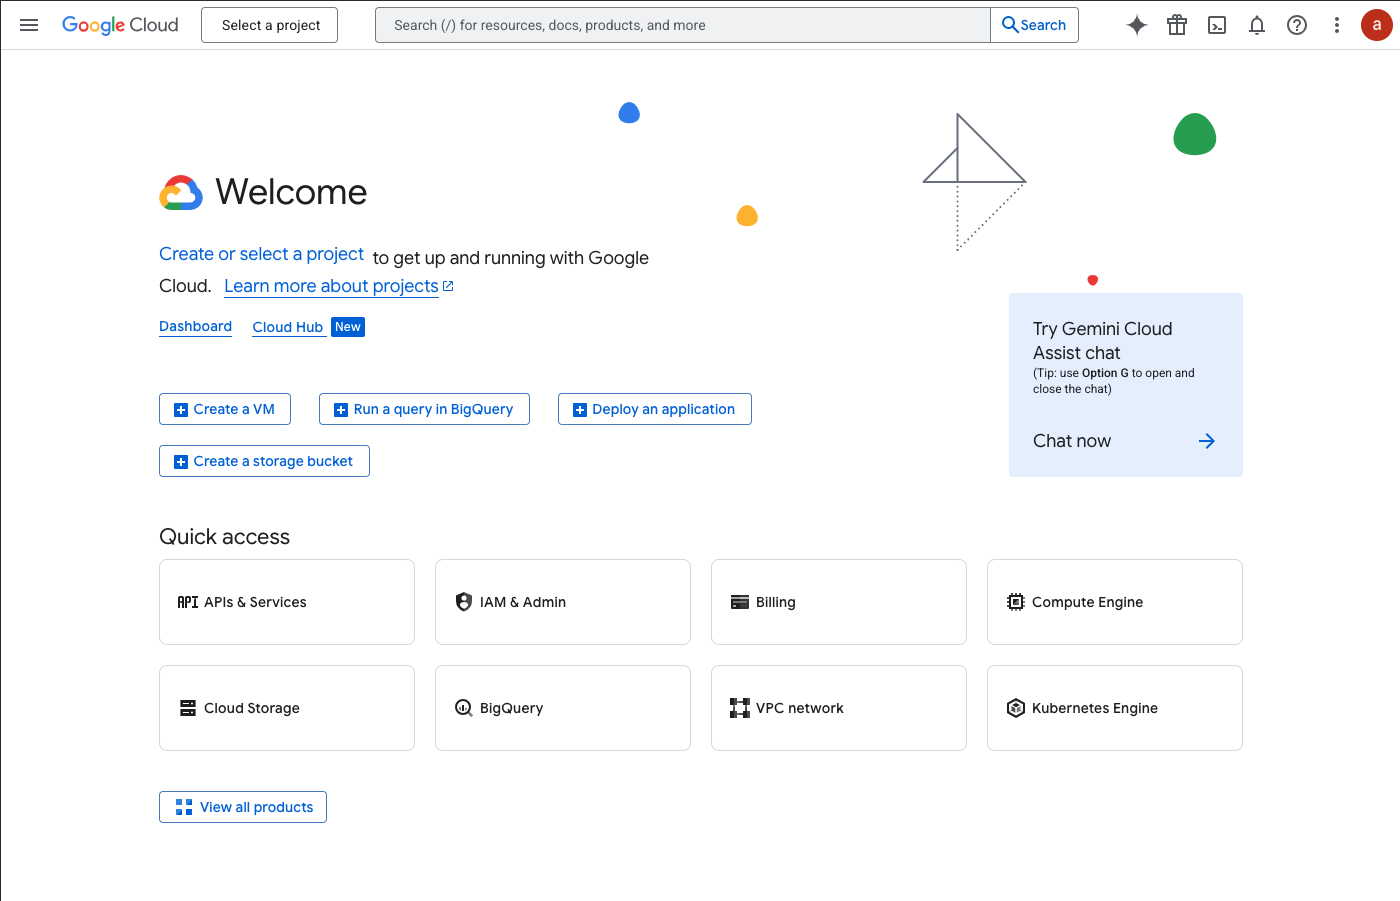
Go to Google Cloud Console.
-
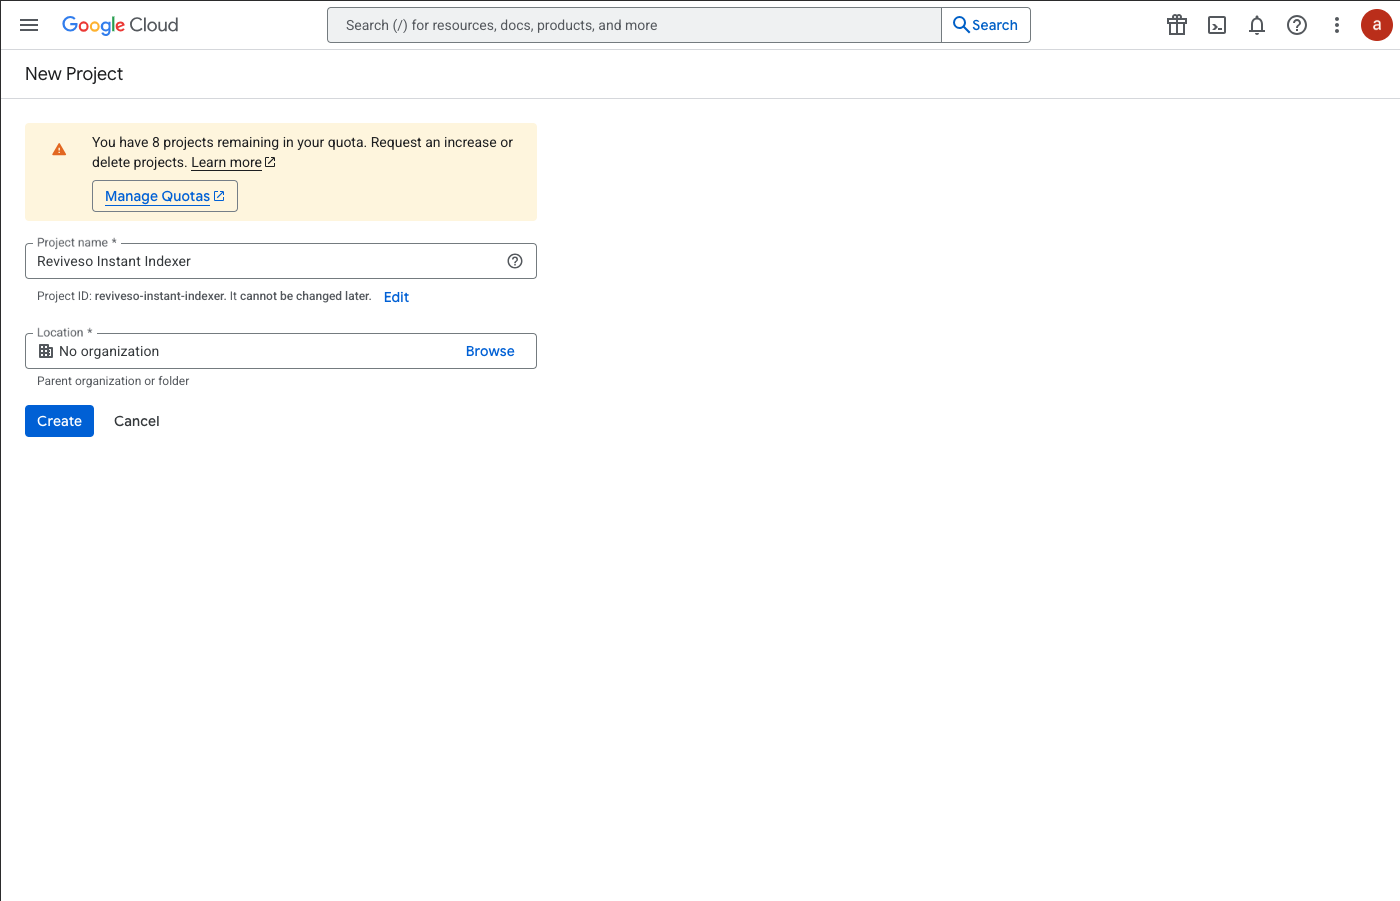
In the top navigation bar, click the project dropdown and select New Project.
-
Enter: Project name (e.g., Reviveso Instant Indexer)
-
Click Create.
2. Enable the Indexing API
-
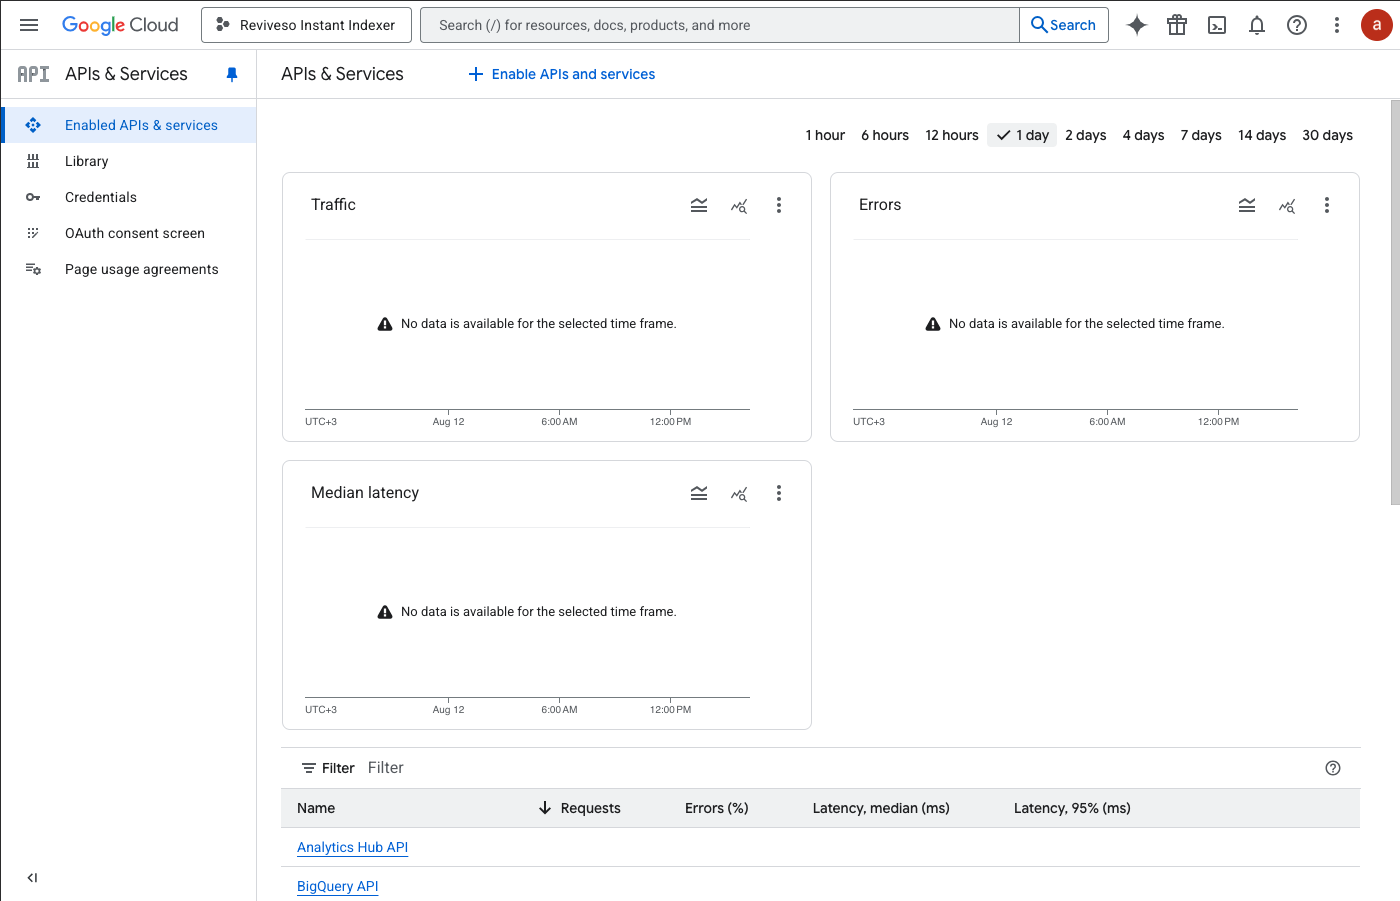
With your new project selected, go to the API & Services tab.
-
Click Enable API & Services
-
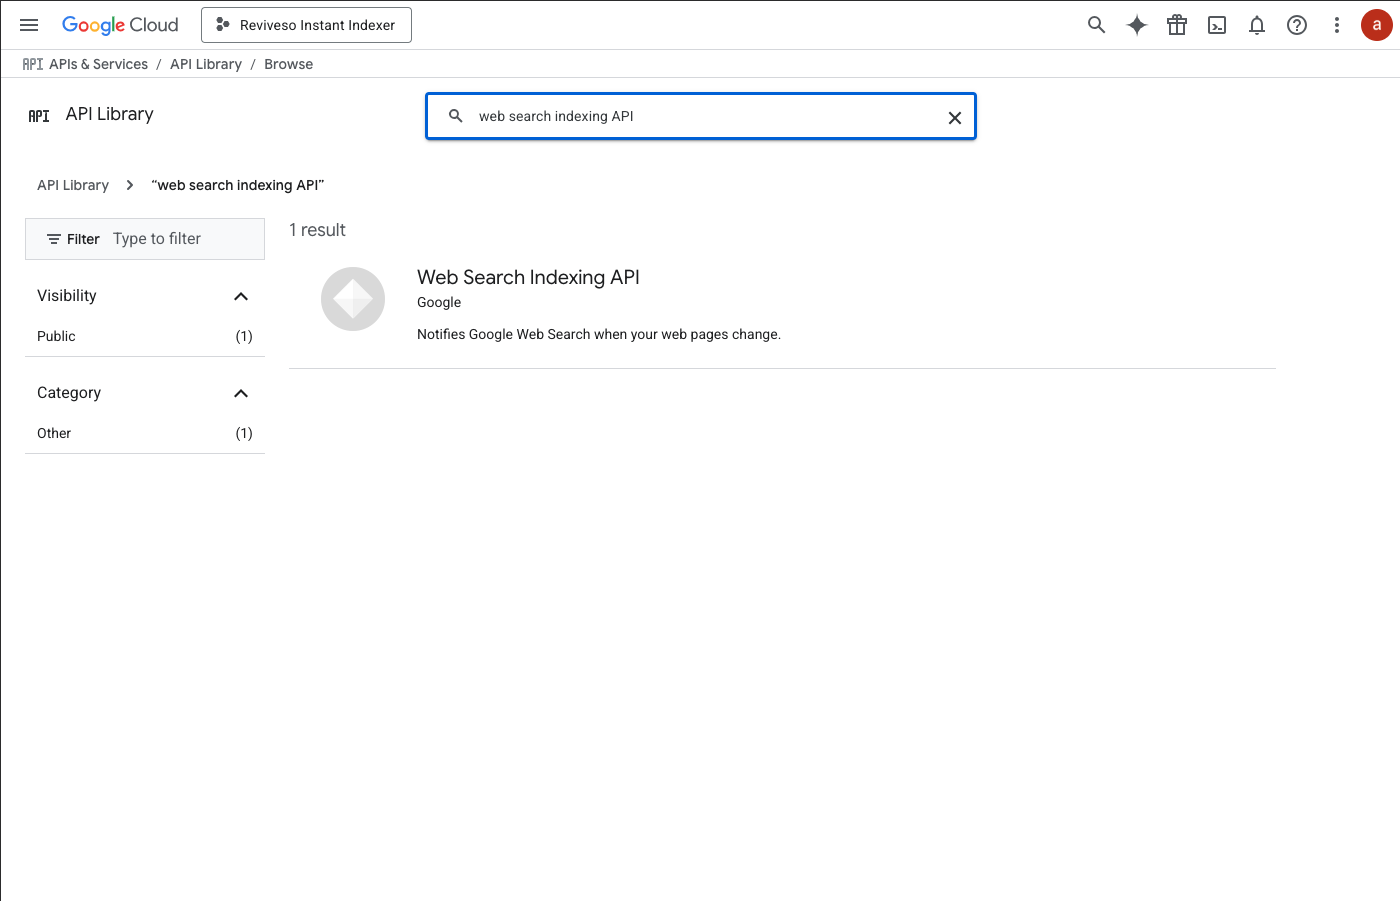
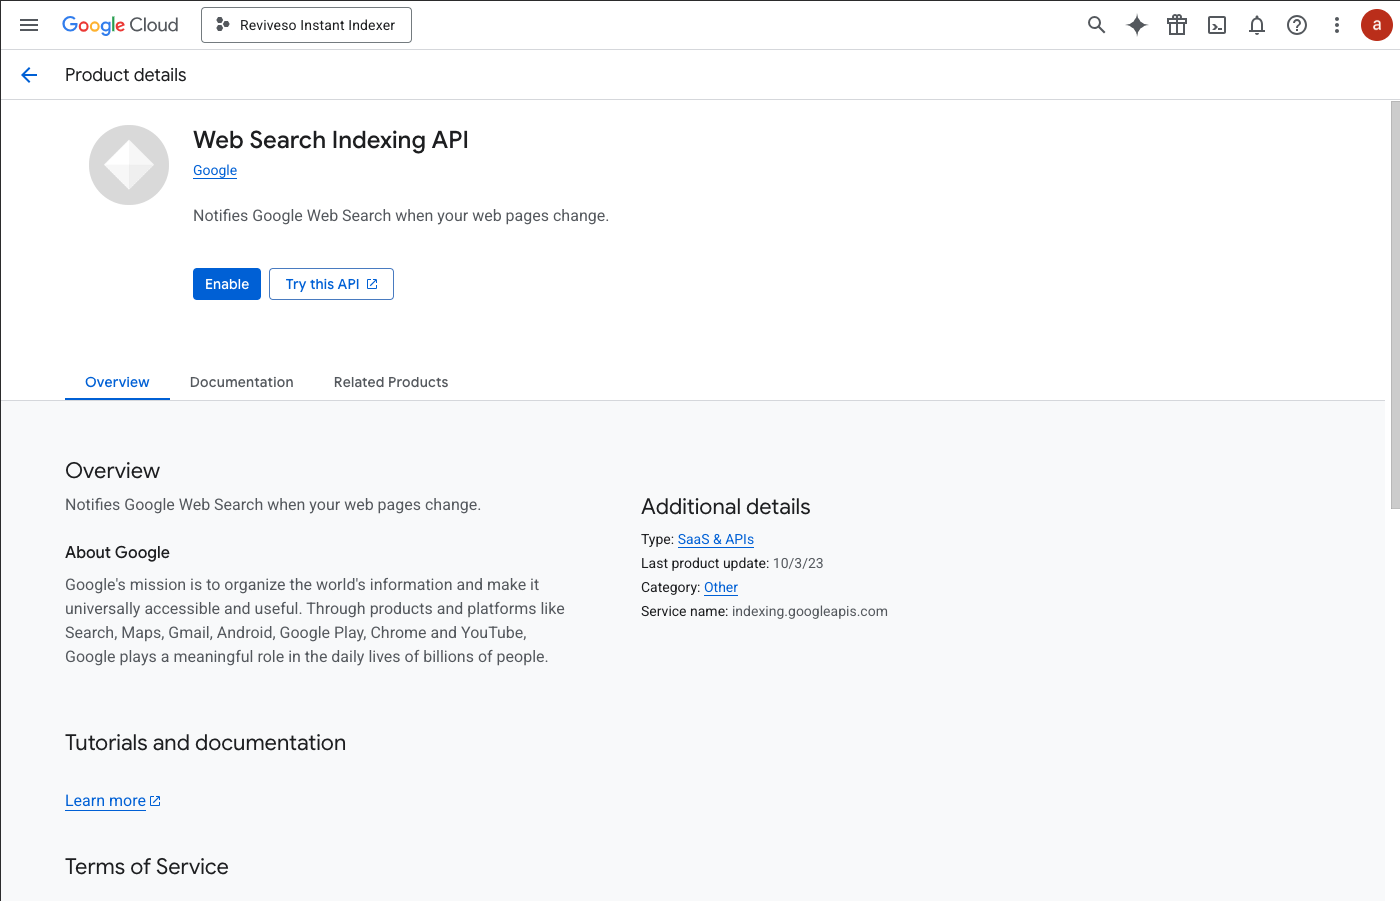
Search for Web Search Indexing API
-
Click Enable.
3. Configure OAuth Consent Screen
-
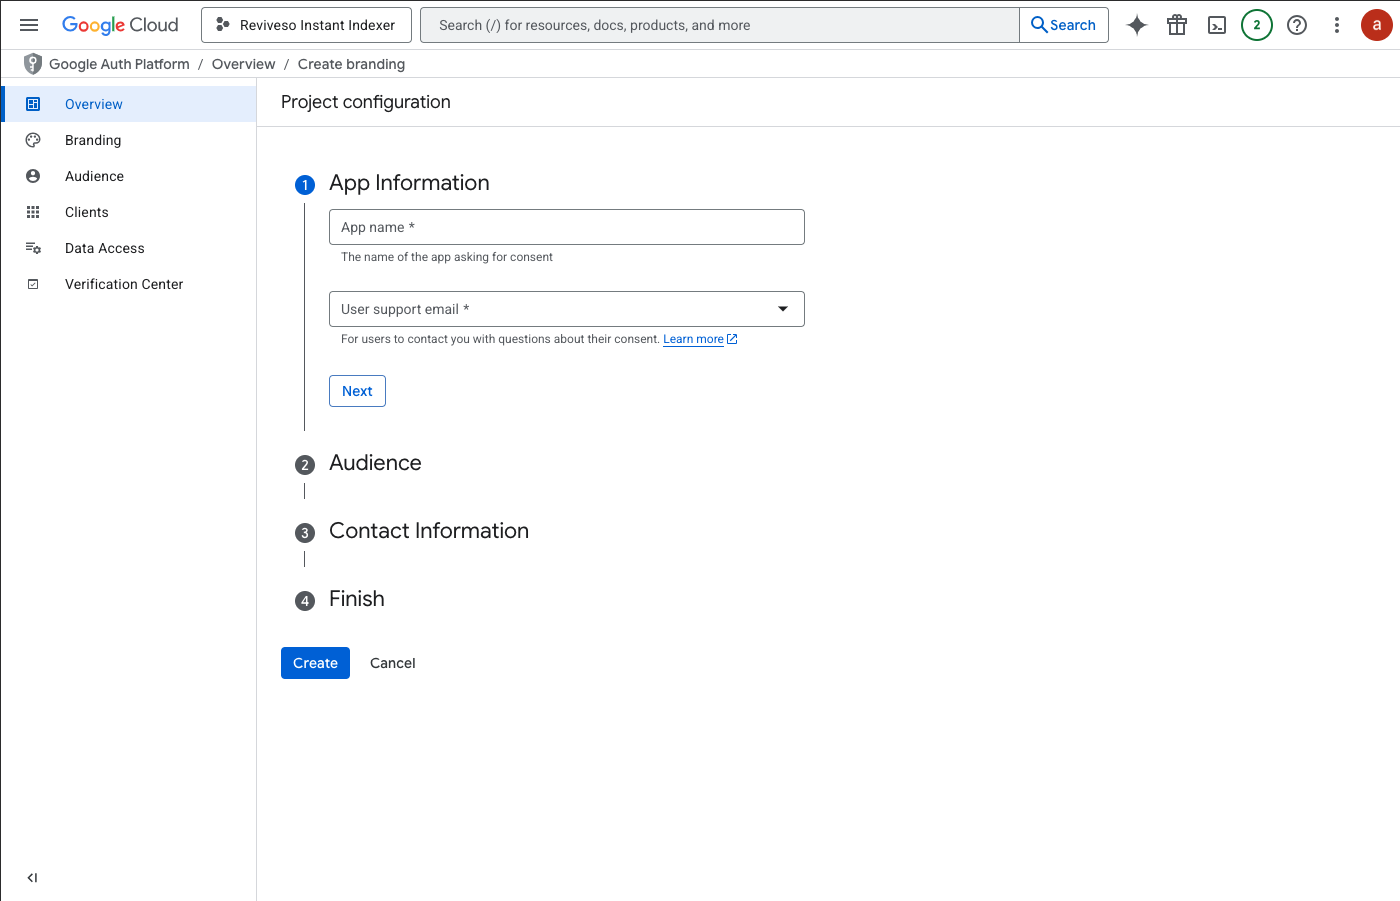
In the left menu, go to APIs & Services → OAuth consent screen, click Create.
-
Fill in:
- App name (e.g., Revive Instant Indexer)
- User support email
- Developer contact information
- App name (e.g., Revive Instant Indexer)
-
Select External in the Audience section and follow the rest of the instructions.
-
Lastly, click Create.
4. Create OAuth Client ID Credentials
-
In the left menu, go to APIs & Services → Credentials.
-
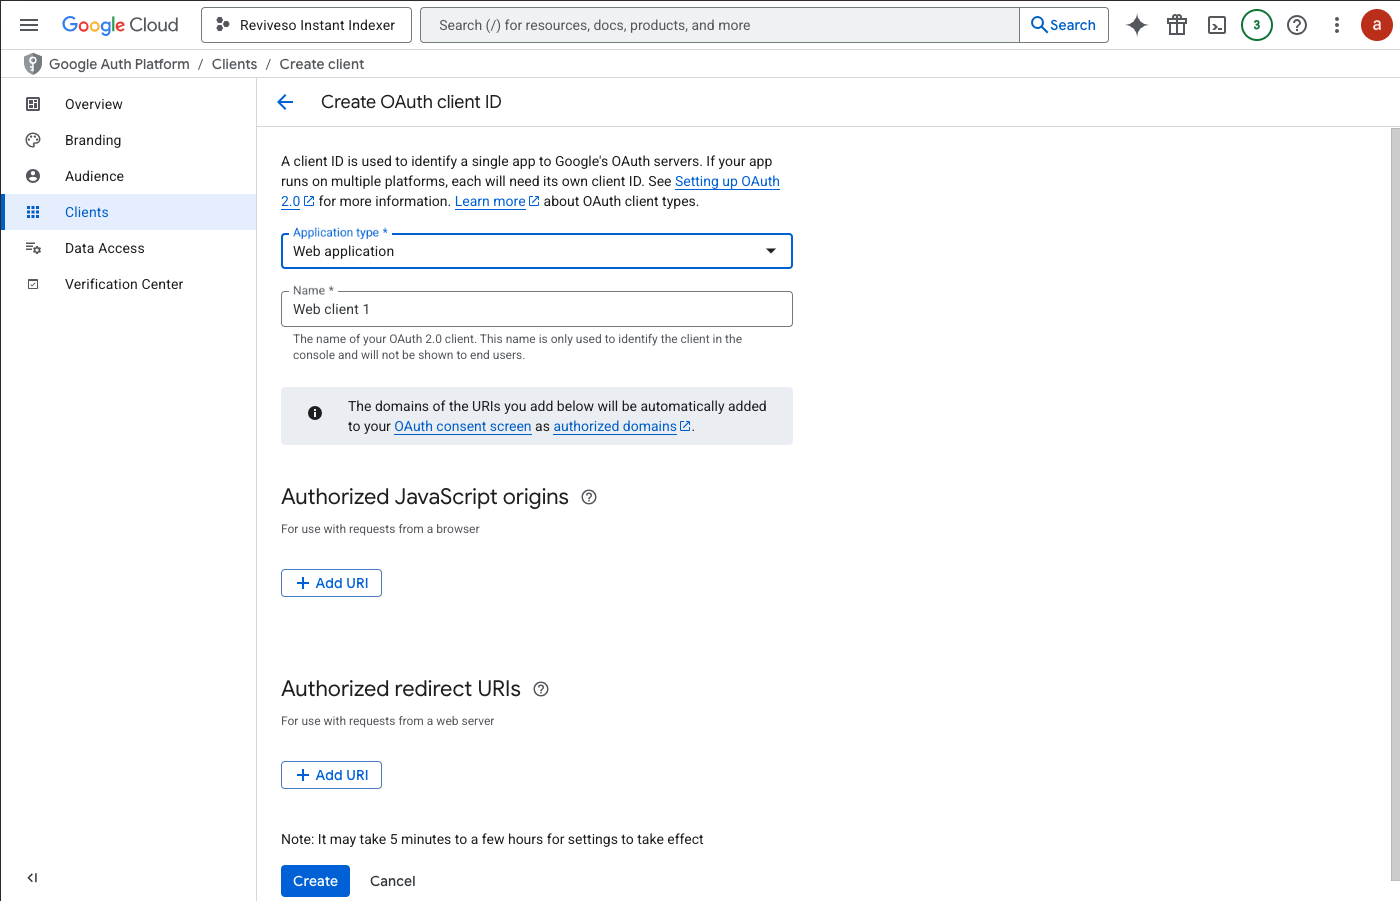
Click + Create Credentials → OAuth client ID.
-
Choose:
- Application type: Web application
-
Enter:
- Name (e.g., Revive Instant Indexer Client)
- Authorized JavaScript origins →
https://yourdomain.com
(Replace with the domain where Revive.so is installed) - Authorized redirect URIs →
https://yourdomain.com/wp-admin/admin.php?page=reviveso&tab=general§ion=instant_index&action=oauth_redirect
(Copy exactly from the plugin settings page)
- Name (e.g., Revive Instant Indexer Client)
-
Click Create.
5. Retrieve Your Client ID and Client Secret
-
Once created, a pop-up will display your Client ID.
-
Copy this and download the JSON file generated. Then close the pop-up.
-
Edit the newly created OAuth Client ID and locate your Client Secret.
-
Copy these values and paste them into the Revive.so Instant Indexer fields:
- Client ID
- Client Secret Key
- Client ID
6. Grant Access
-
In the plugin’s Instant Indexer Setup page, click Connect to Google.
-
Sign in with your Google account.
-
Approve access when prompted.
-
You should see the Connected to Google confirmation.
If you are encountering an error when trying to approve access, please make sure to add your email as a Test user for the application from the Audience tab.